Ubuntu 26.04 在記憶體有 1 GB 時,開機後可以正常運作。
若將記憶體調降至 768 MB 時,開機就會 kernal panic:
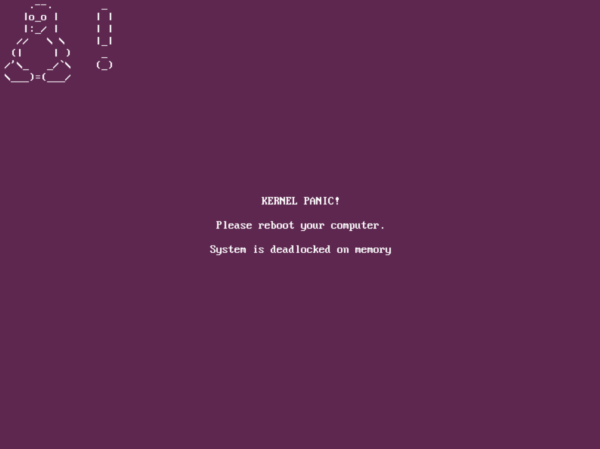
該不會只能會去用 FreeBSD 了吧 O_Oa
Ubuntu 24.04 後,ATP 設定檔都採用新的格式,如下:
Types: deb
URIs: http://archive.ubuntu.com/ubuntu/
Suites: noble noble-updates noble-backports
Components: main restricted universe multiverse
Signed-By: /usr/share/keyrings/ubuntu-archive-keyring.gpg
如果換成自己的 repository,沒有 sign 會出現錯誤,可加上以下參數強制忽略簽章:
Trusted: yes注意:不要信任不明來源
看了 release announcement 主要是安全性更新和增加穩定度。
除了 Ubuntu 以外,其他 Ubuntu based 的 distribution 也一起發布更新:
phpbrew install 8.0.11 時會出現 OpenSSL 的錯誤訊息:
/home/zero/.phpbrew/build/8.0.29/ext/openssl/xp_ssl.c:1240:9: warning: ‘DH_free’ is deprecated: Since OpenSSL 3.0 [-Wdeprecated-declarations]
 1240 |         DH_free(dh);
      |         ^~~~~~~
In file included from /usr/include/openssl/dsa.h:51,
                 from /usr/include/openssl/x509.h:37,
                 from /usr/include/openssl/ssl.h:31,
                 from /home/zero/.phpbrew/build/8.0.29/ext/openssl/xp_ssl.c:31:
/usr/include/openssl/dh.h:200:28: note: declared here
  200 | OSSL_DEPRECATEDIN_3_0 void DH_free(DH *dh);
      |                            ^~~~~~~
主要是因為舊版的 PHP 使用到的 OpenSSL 也是舊版的。
解決方法:
先下載 OpenSSL v1.1,並編譯:
cd ~/tmp/openssl-1.1.1v

# --prefix 設定為暫存路徑
./Configure --prefix=/home/zeroplex/openssl-1.1.1/ -fPIC -shared linux-x86_64
make
make install
make install 後執行檔、函式庫就會存放到 /home/zeroplex/openssl 中。
先設定要使用的 OpenSSL pkgconfig:
# 在 openssl 位置中找到 pkgconfig 的路徑
export PKG_CONFIG_PATH=/home/zeroplex/openssl/lib/pkgconfig
接下來 phpbrew 使用相同的指令即可:
phpbrew install 8.0.29 +defaults
備註:phpbrew install 7.4 也需要相同的方法
原本以為使用 DEBIAN_FRONTEND=noninteractive 參數就可以:
sudo DEBIAN_FRONTEND=noninteractive apt upgrade
後來發現還有個套件叫做 needrestart,預設會在 apt upgrade 完成後詢問哪一些服務要重新啟動:
which services should be restarted先檢查一下是否有安裝 needrestart,有的話可以看到 /etc/needrestart 目錄。
再去修改設定檔 needrestart.conf:
# Restart mode: (l)ist only, (i)nteractive or (a)utomatically.
#
# ATTENTION: If needrestart is configured to run in interactive mode but is run
# non-interactive (i.e. unattended-upgrades) it will fallback to list only mode.
#
$nrconf{restart} = 'a';
參考資料: